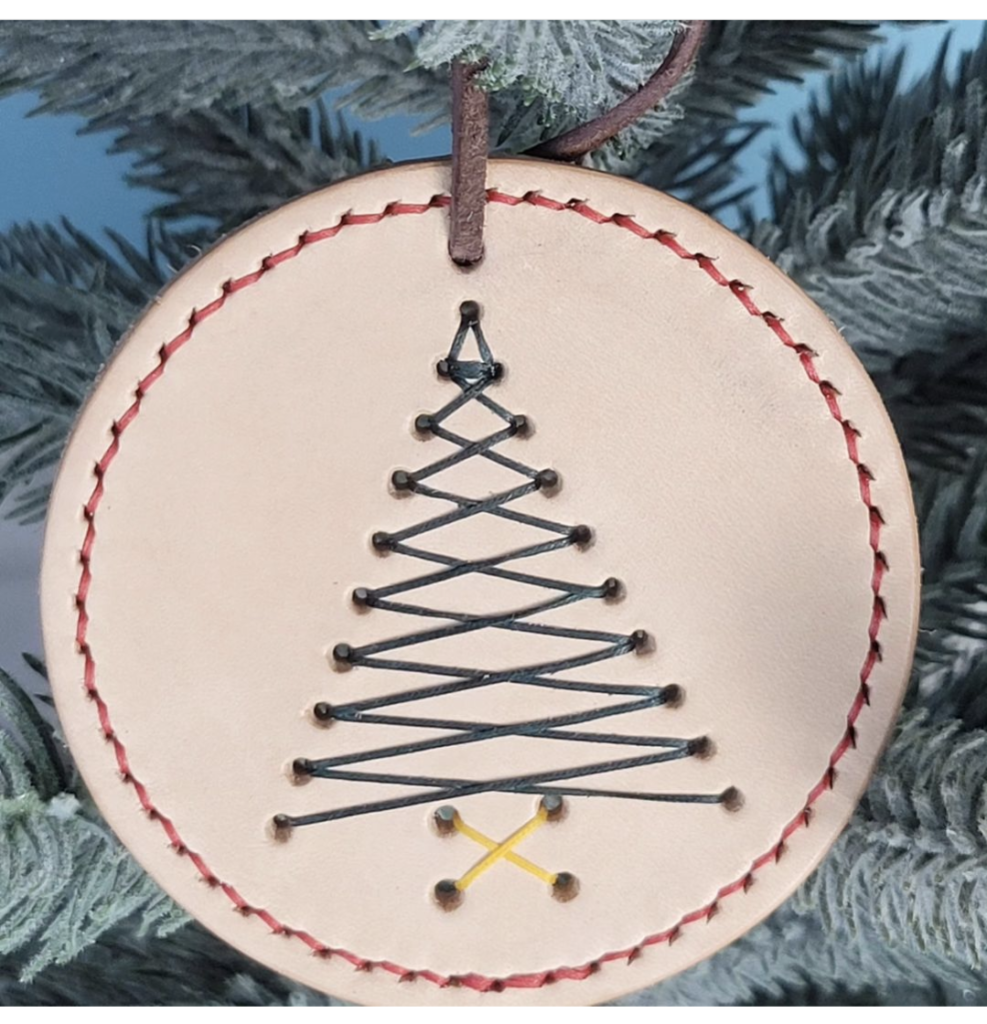
Welcome to your first leather crafting project – you’ll be creating a beautiful Christmas tree ornament using real leather and traditional stitching techniques. Each stitch you make adds texture and dimension, making this a satisfying introduction to leatherwork.
This kit comes in 2 styles: with and without a green border.

Before you start
Materials Provided
In your kit you will find
- pre-punched leather circle
- stitching needles (2)
- 2 or 3 colors of waxed thread
- lacing for a hanging loop
Optional Tools
This project can be made without most tools but they do make it easier.
- scissors
- hammer
- any glue
- pliers
- small piece of smooth, raw wood (for example a dowel)
The project
The videos below will walk you through stitching this project.
Stitching the Christmas tree
Stitching the border
If your design has a border, follow the directions in this video.
Smoothing the edges (optional)
The leather circles have rough edges. These are great for an unfinished look but you can also smooth the edges.
To smooth the edges you will just need a smooth piece of wood and water!
- Dip your finger in water
- Add a little water to about an inch section of the leather circle’s edge (don’t soak the leather)
- Rub the wood piece back and forth over the section of the edge where you added the water
- Repeat all around the circle
The heat and friction from rubbing the wood along the edge help smooth down the leather fibers.